
Yesterday I shared pictures of my kitchen before I started any remodeling work. While plenty of people may have left the kitchen alone or made only minor updates, I saw the potential in my kitchen for a modern kitchen with an open design.
My original plan was to take pictures daily of the transformation. I missed a few days, but these pictures capture what it was like to live through a gut kitchen remodel.
Kitchen Transformation – During the Remodel:
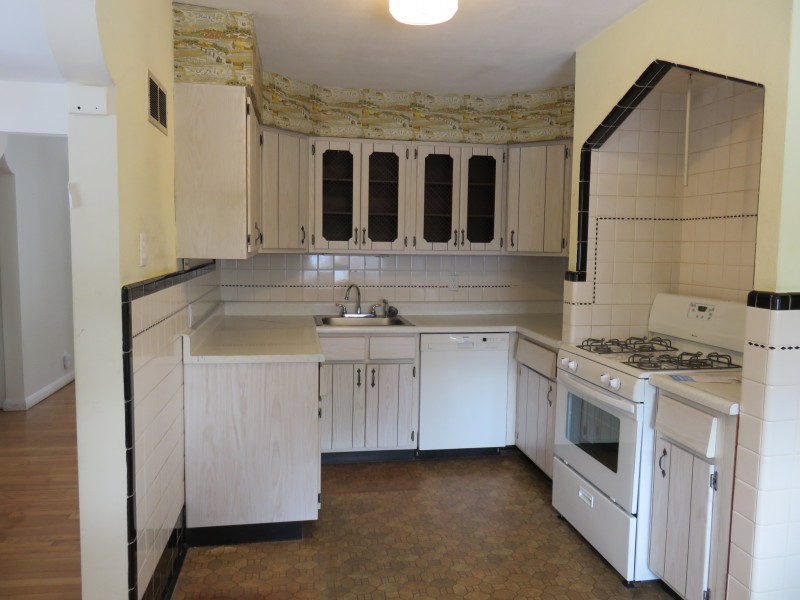
As a reminder, this was the original kitchen.
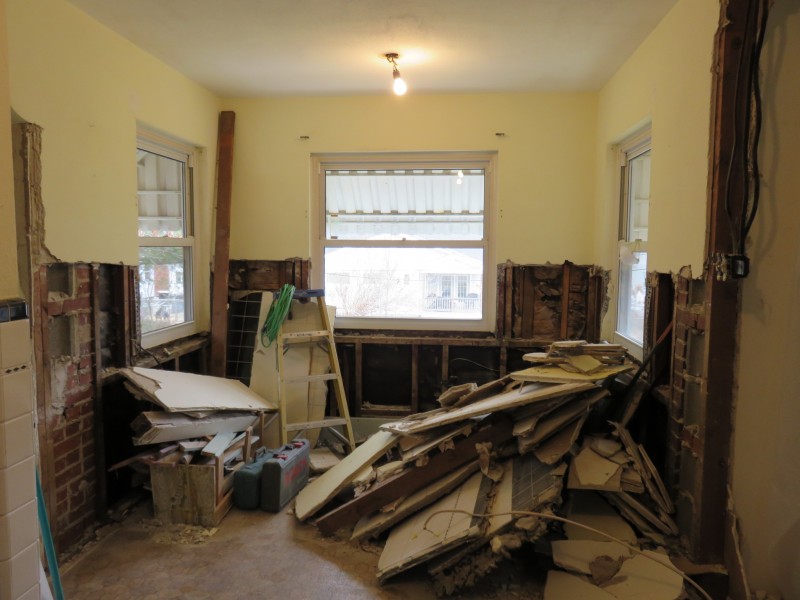
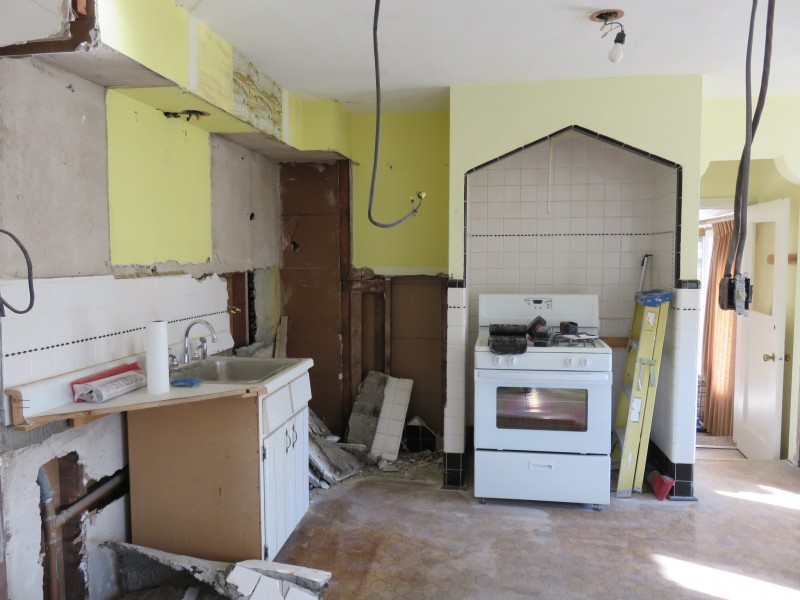
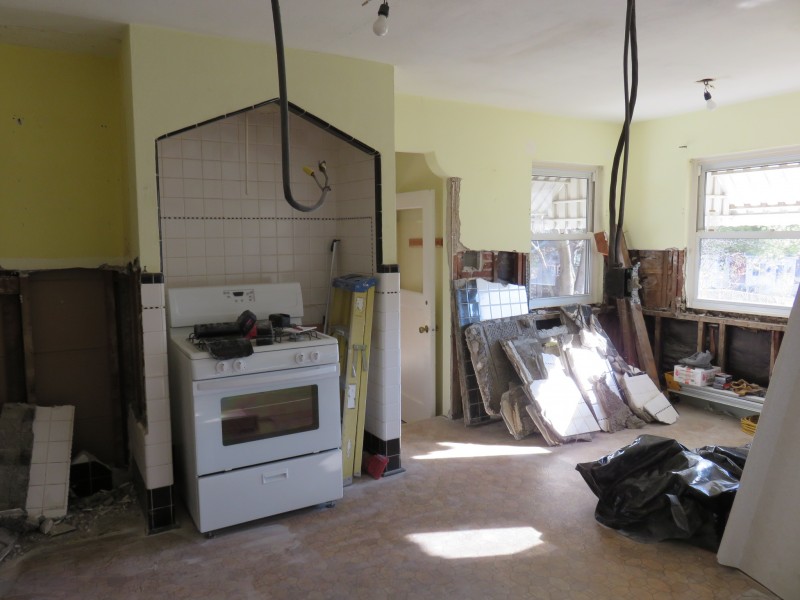
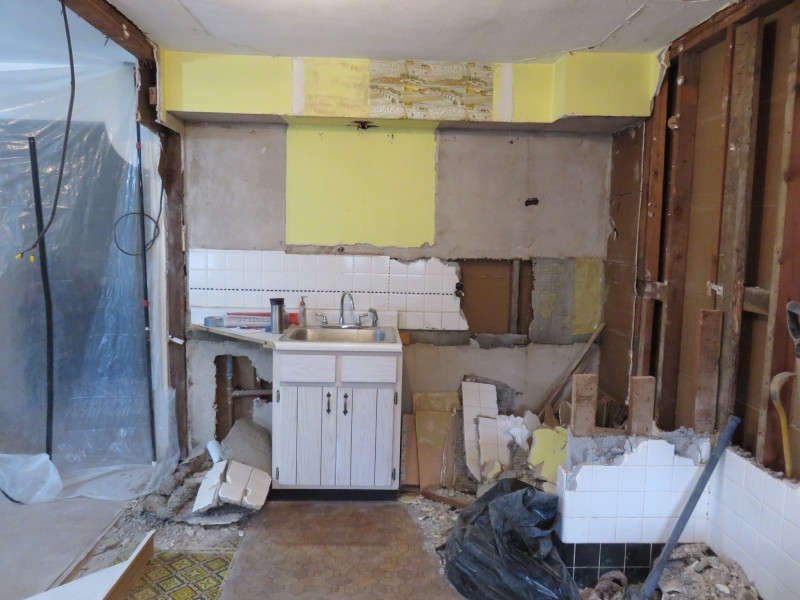
The plan was to take out the wall between the kitchen and dining room, remove all of the tile, the oven alcove…and replace everything you see.
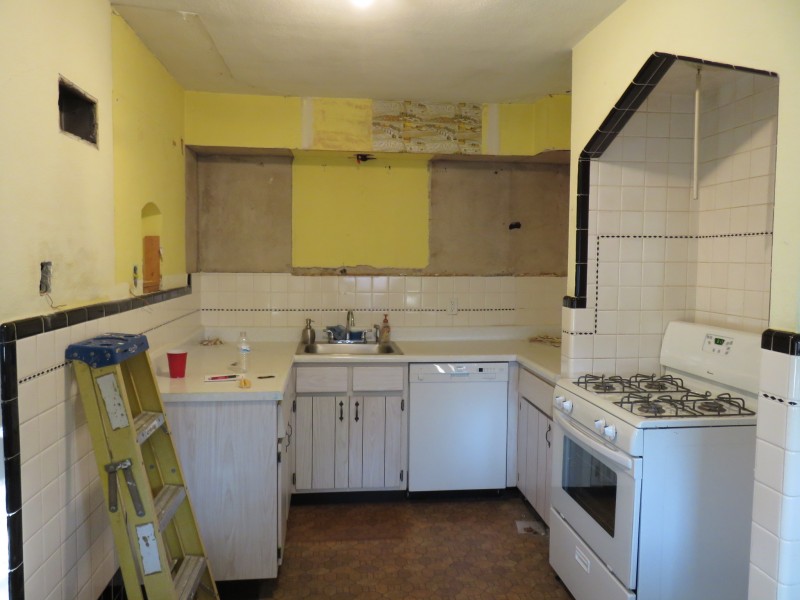
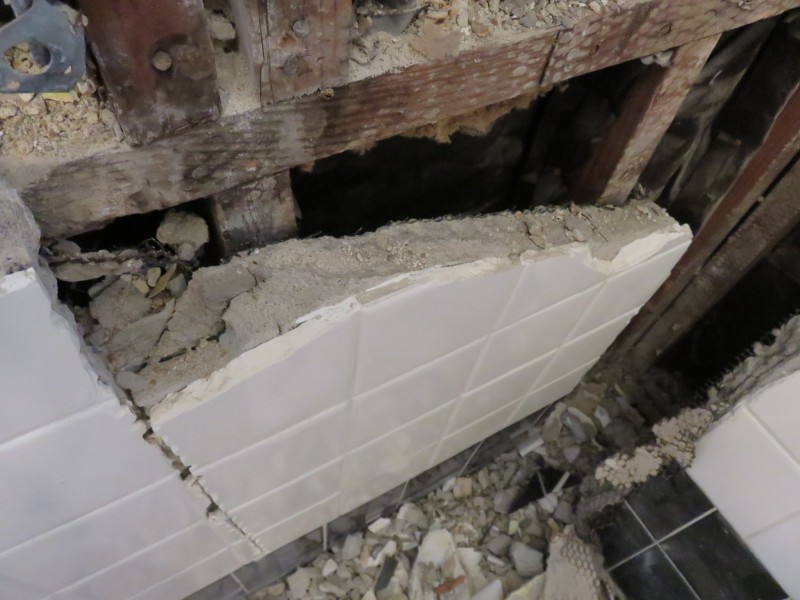
Taking down the old tile is a not an easy task!
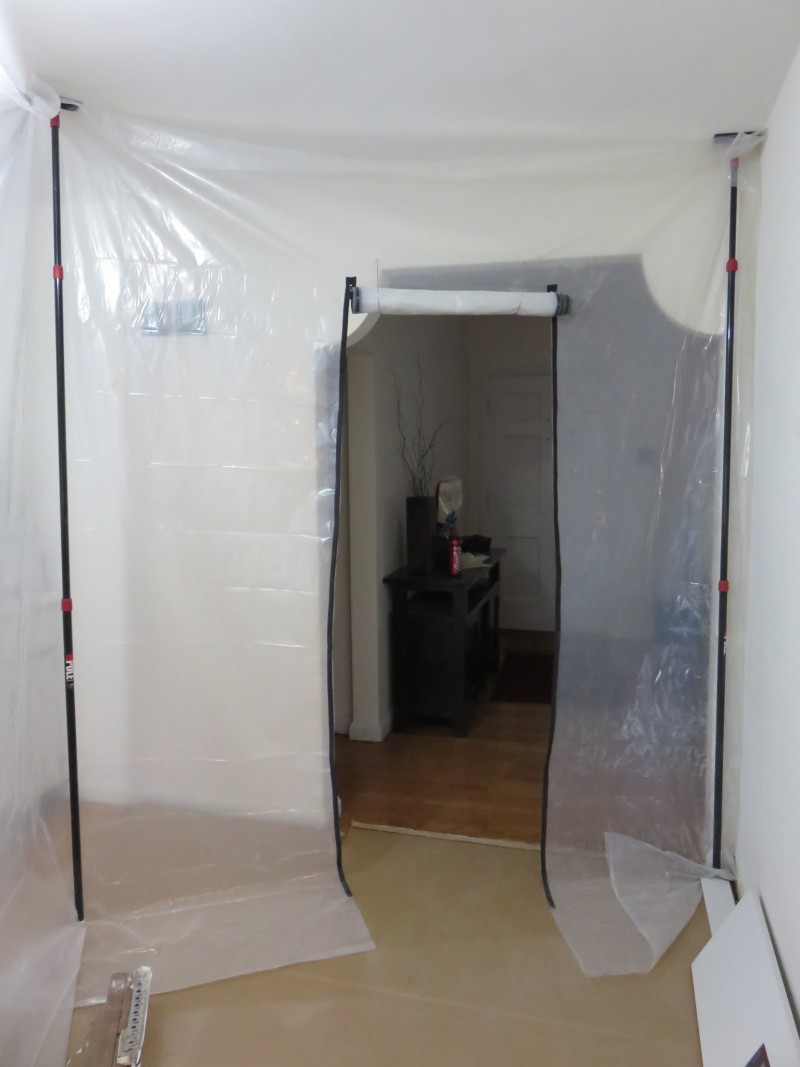
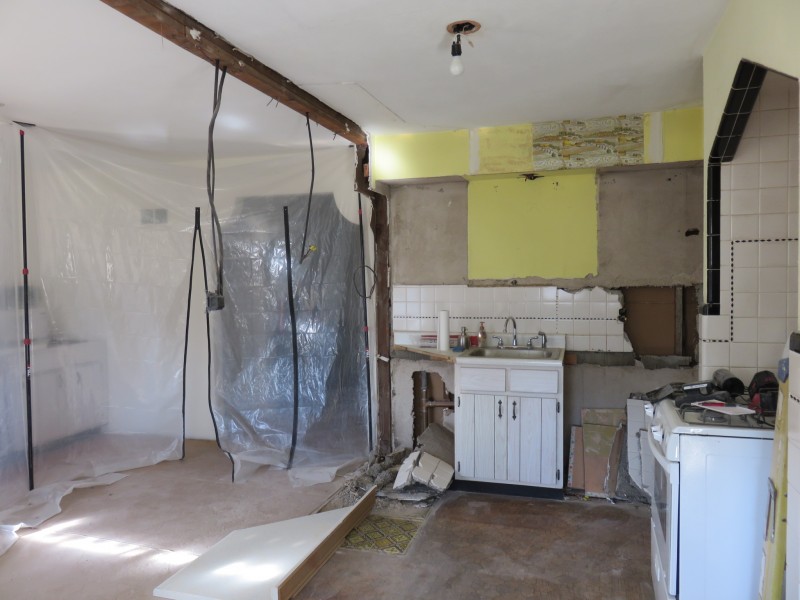
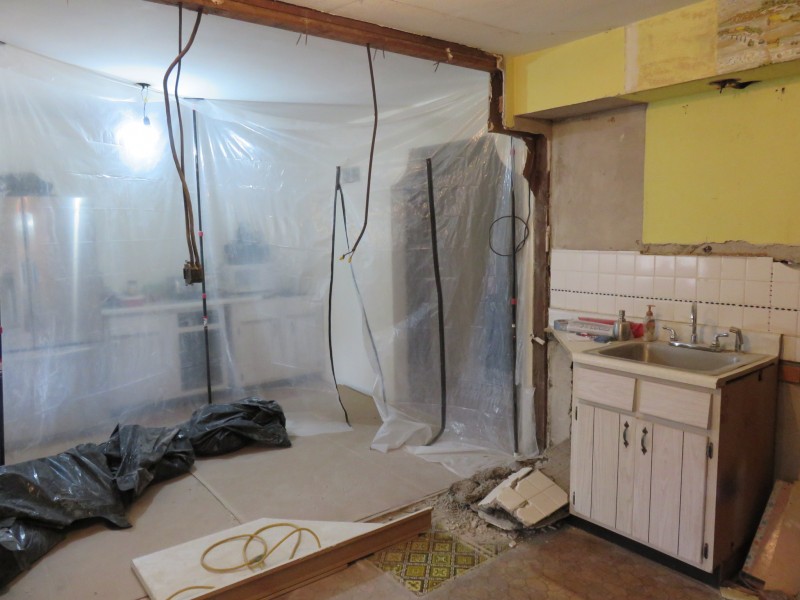
In an attempt to keep the construction dust in just the kitchen and dining room area, we put up this plastic wall. The doorway could be zipped open and closed for access.
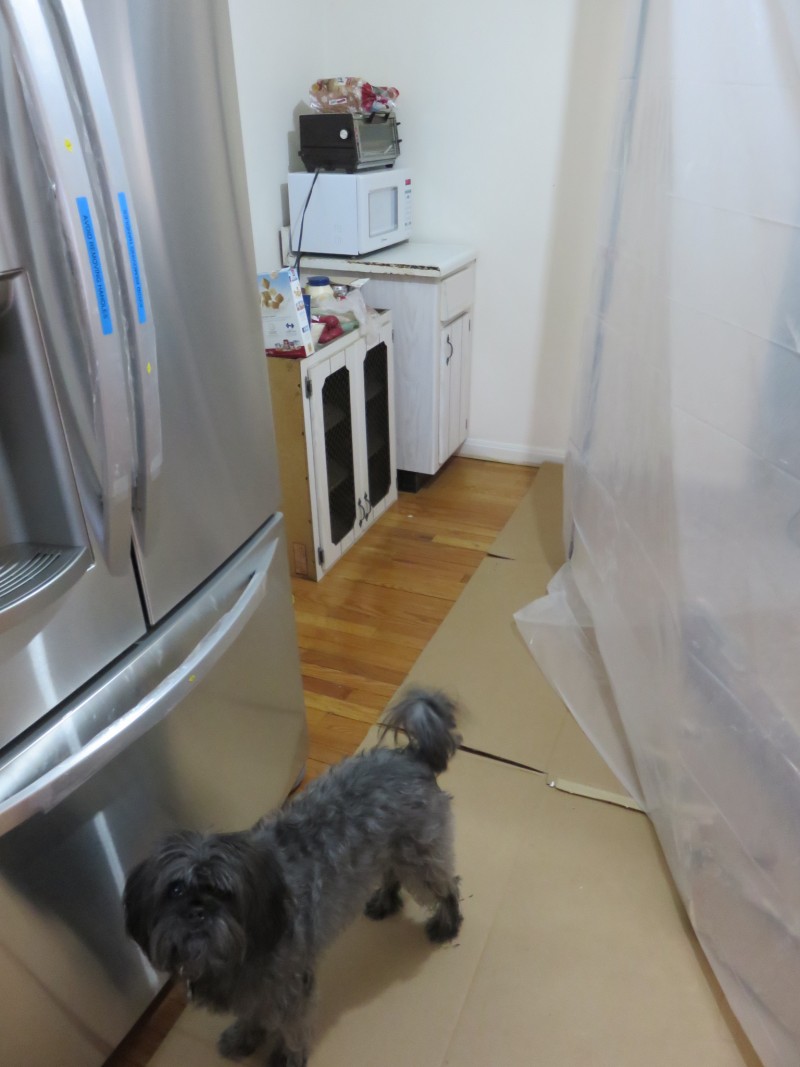
Behind the plastic wall was our temporary kitchen.


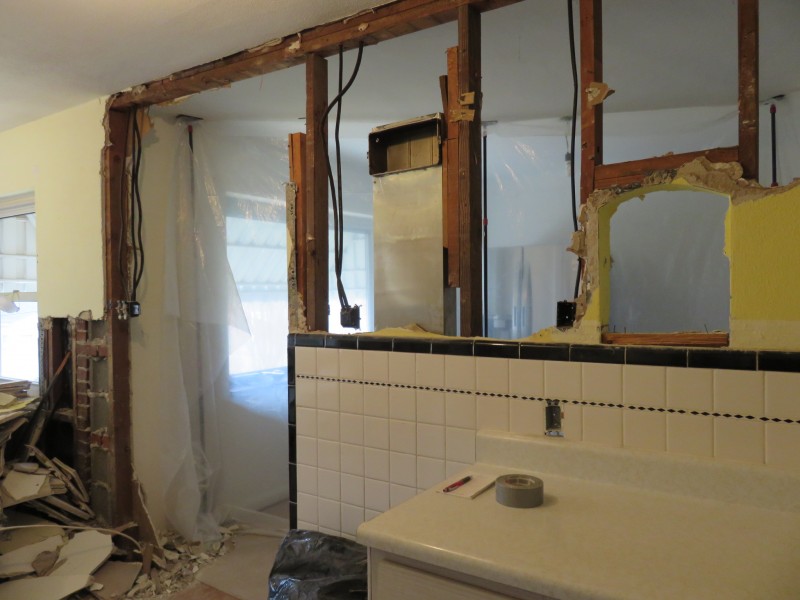
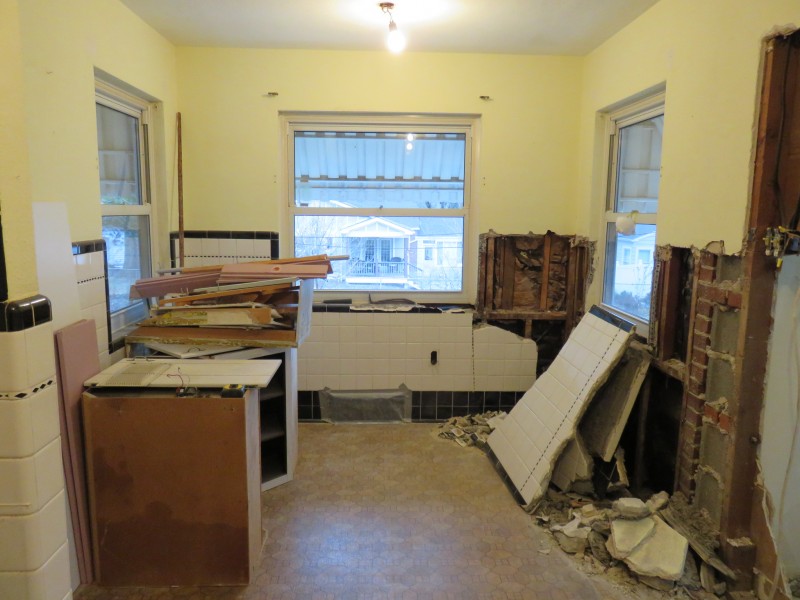
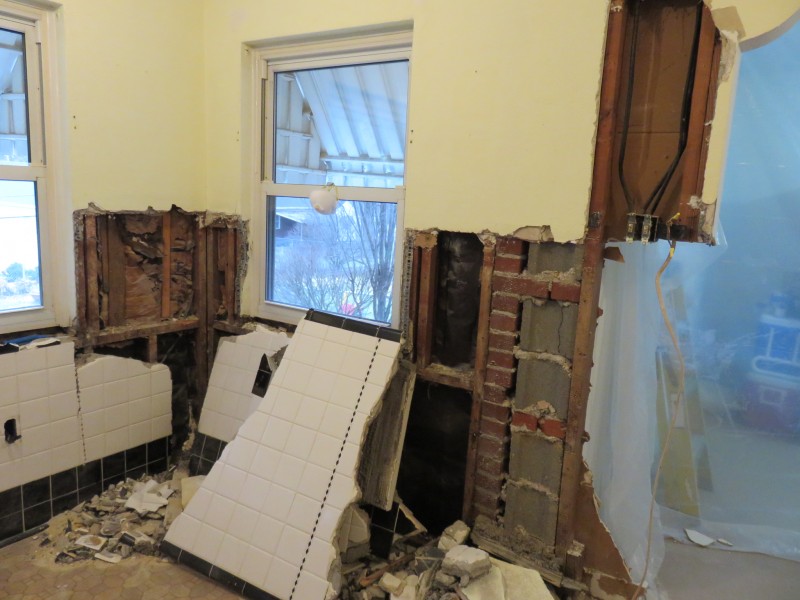
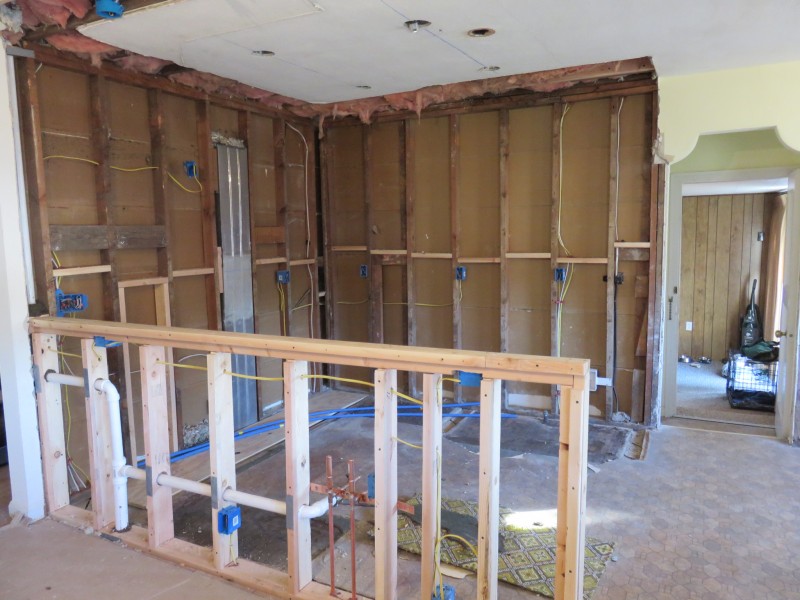
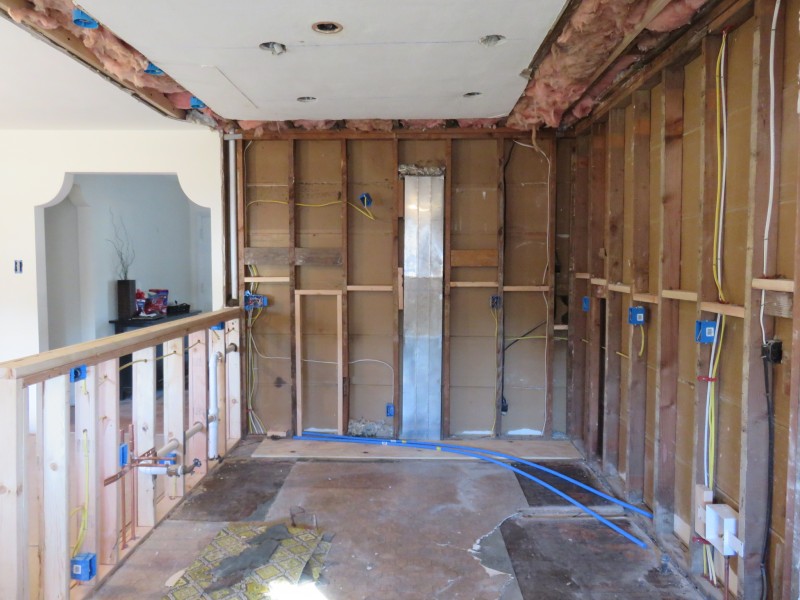
Knocking down a wall usually means relocating wiring and ductwork too.
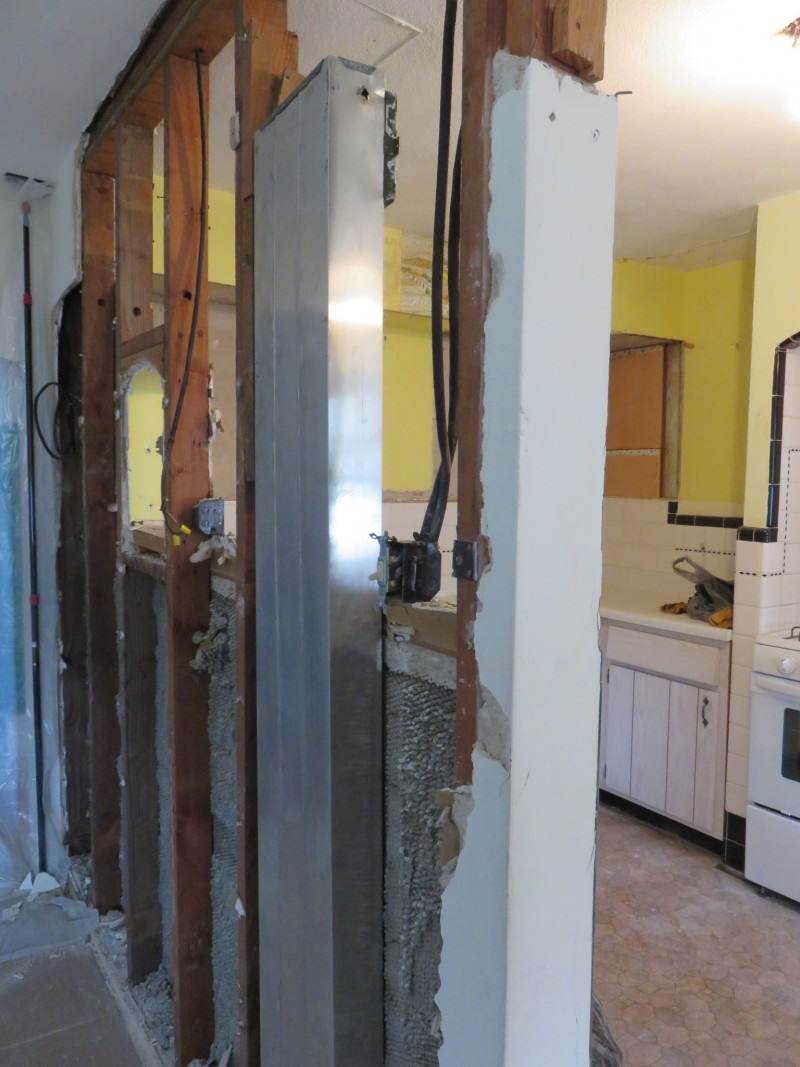


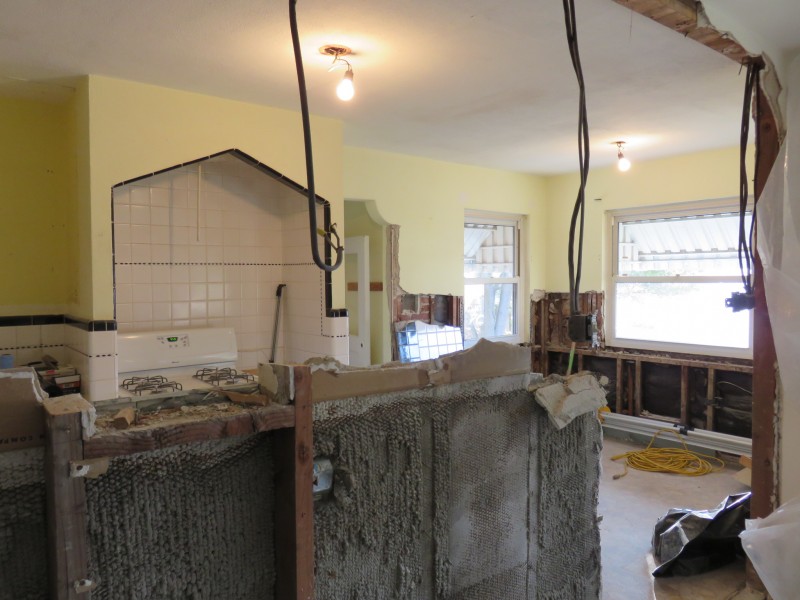
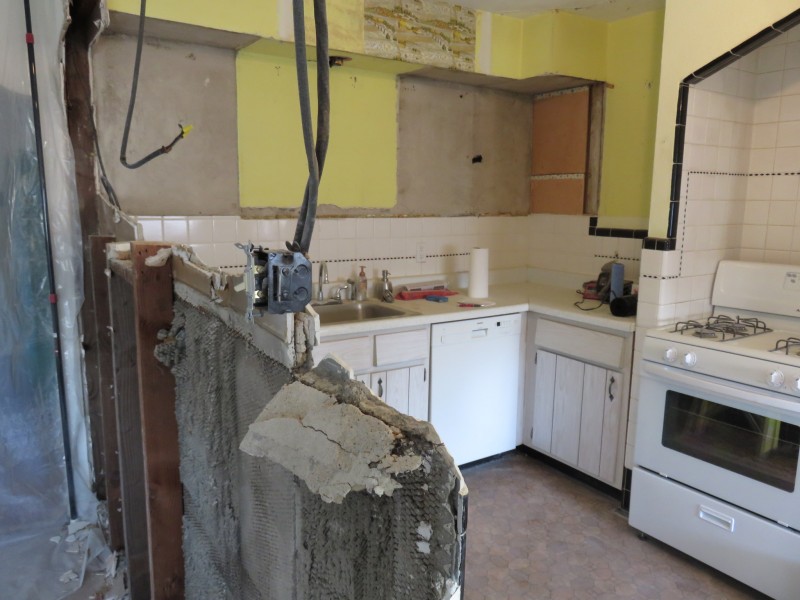
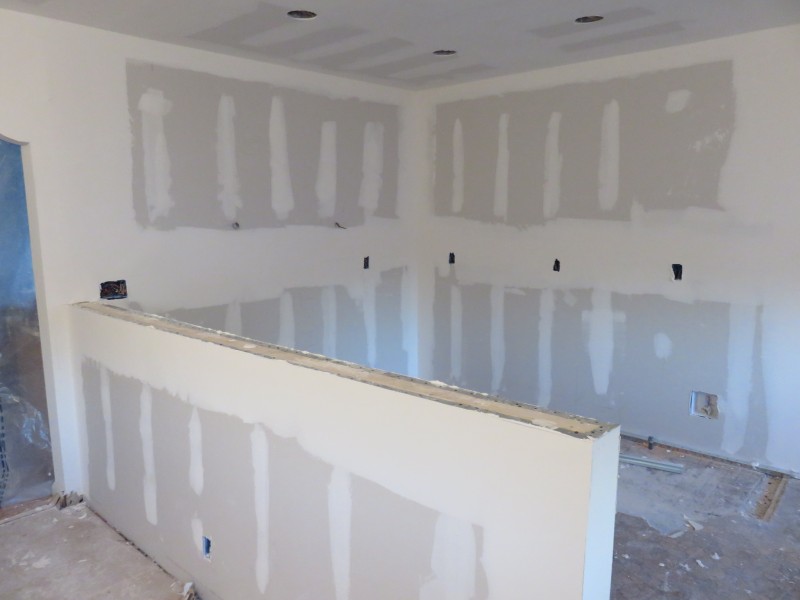
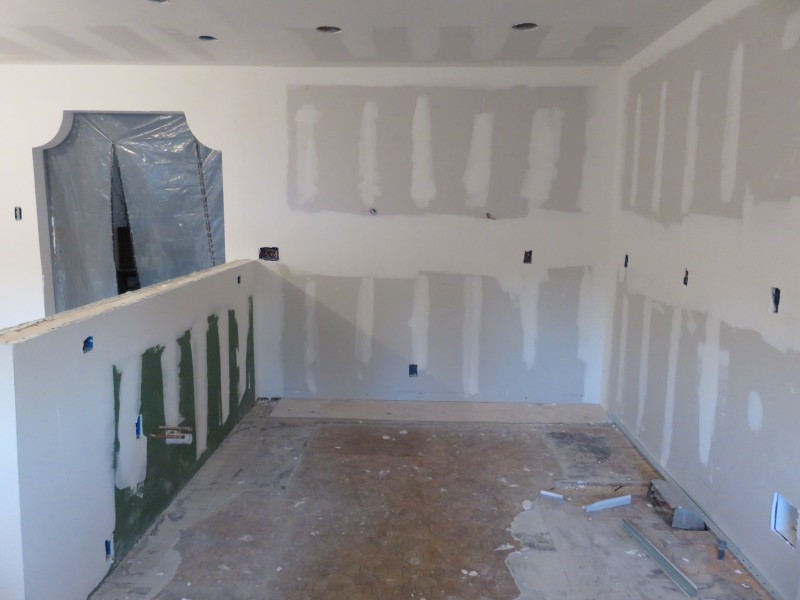
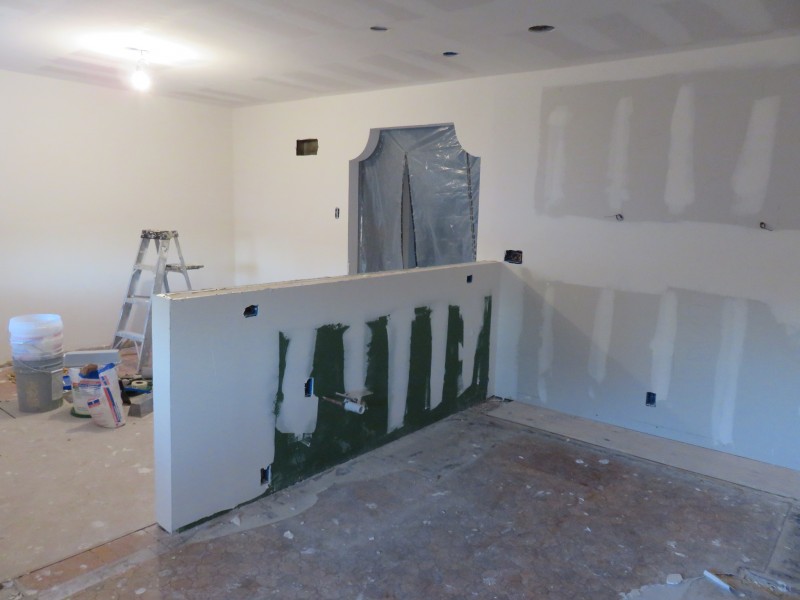
And the wall comes down!
Did you notice the carpet that was under the cabinet?
There were 2 layers of vinyl plus some carpeting under the top layer of vinyl.
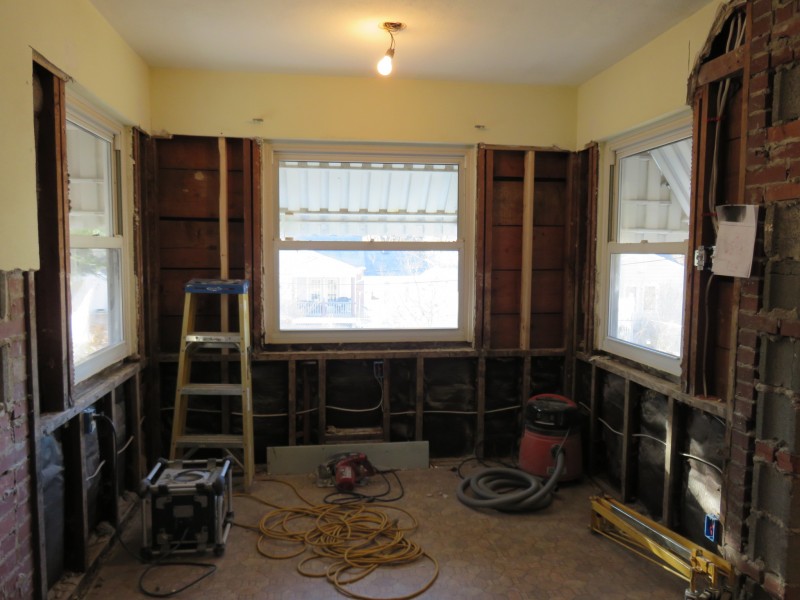
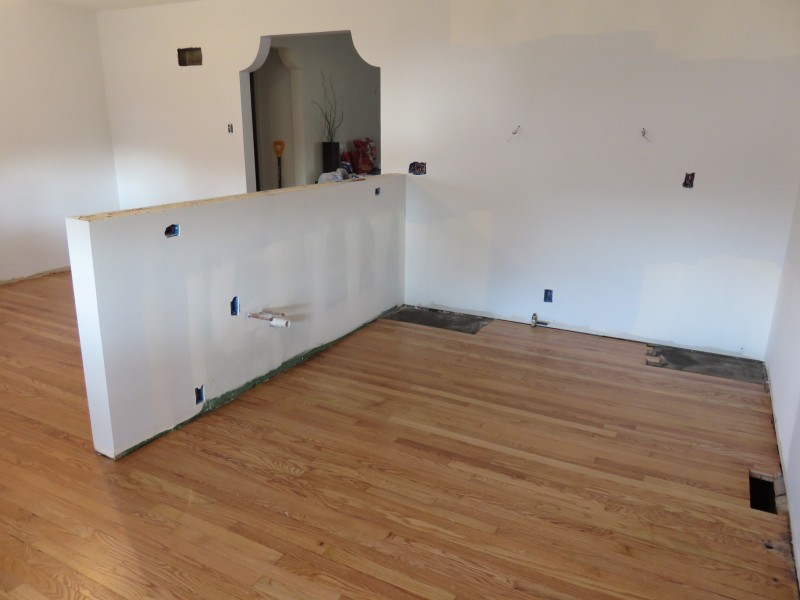
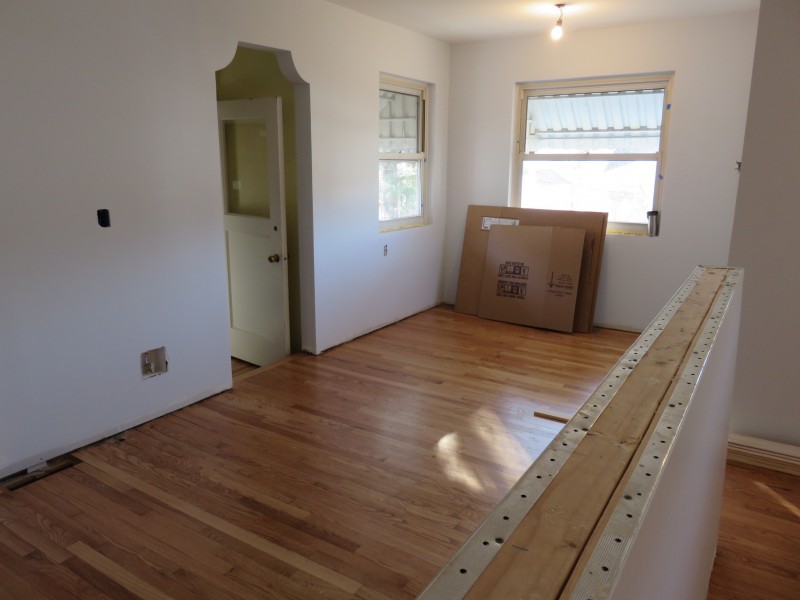
And the new kitchen starts taking shape.

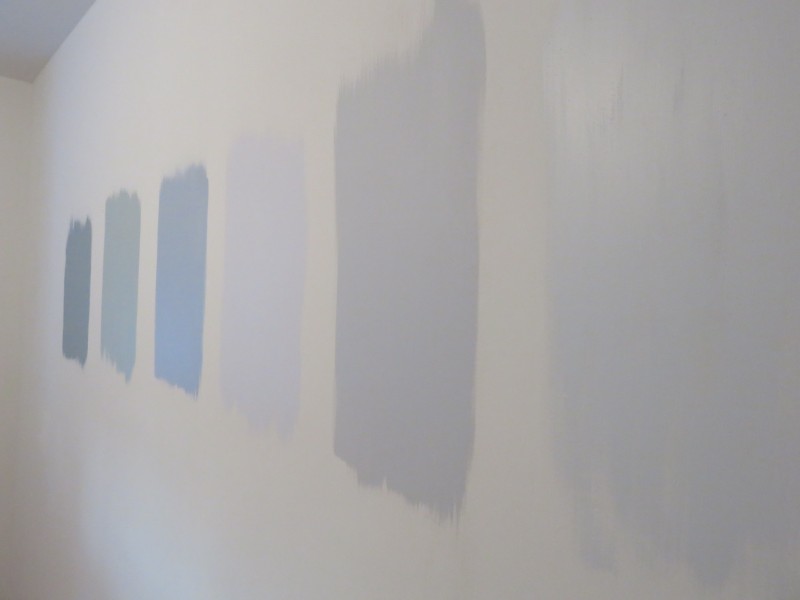
Picking wall color is a lot harder than you would think. I ended up buying 6 samples before I picked a color.
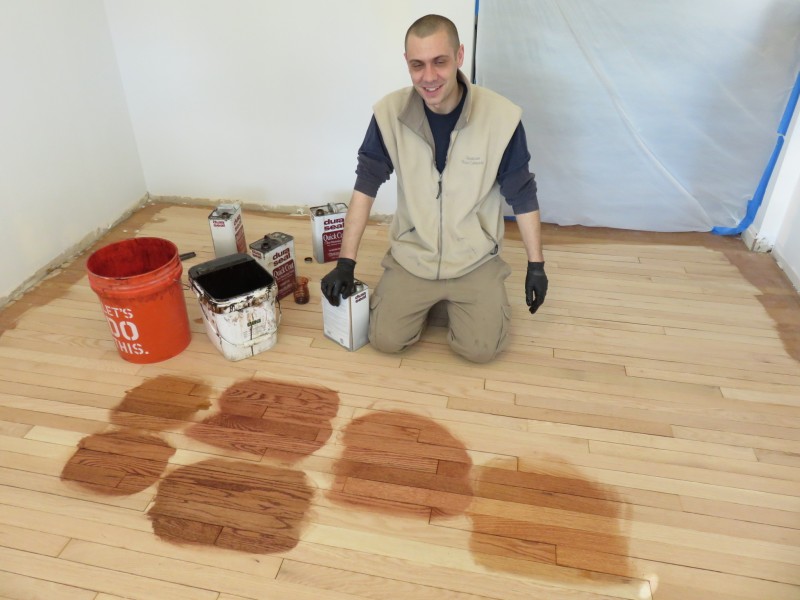
Champion Floors came in and refinished the wood floors. This was me trying to decide what color to go with for the stain. I ended up going natural, no stain.
Can you believe there was the original wood floor underneath the 3 layers of vinyl and a layer of carpet in the kitchen!
By the way, I lived in the house through all of this work. Drywall dust was everywhere since the kitchen is between the bedroom/bathroom/temp kitchen and the family room/garage/outside access for the dog.
From start to finish took about 2 1/2 months. That’s a long time living with just a microwave and bathroom sink. My original plan was to cook a lot using the crockpot, microwave and toaster oven. But washing dishes in a small bathroom sink is a real pain, so I ended up eating way too much carry out.
Luckily, I plan to live her a long time and will hopefully never have to go through this again.
If you have never lived through a gut kitchen remodel, I hope these pictures give you a sense of how much work, and mess, is involved.
Hang in there with me one more day. Tomorrow I’ll share with you pictures the finished kitchen.
Subscribe to my weekly email and never miss an update.
Subscribe to my mailing list


OMG what a mess! I can’t imagine living with all of that – it had to drive you nuts! Cannot wait to see the finished results!