Last fall, I bought a condo that needed some remodeling. While the bathrooms were usable, they weren’t pretty.
I started with the small main floor bathroom remodel since it was a smaller project than the master bathroom and could be finished more quickly.
Since I was also doing a major kitchen renovation and a master bathroom overhaul, the main floor bathroom project needed to be done relatively cheap. Keeping the bathroom renovation on budget was important, but so was making sure it had style since it is the bathroom that will be used by all of my guests.
Before the Bathroom Remodel:
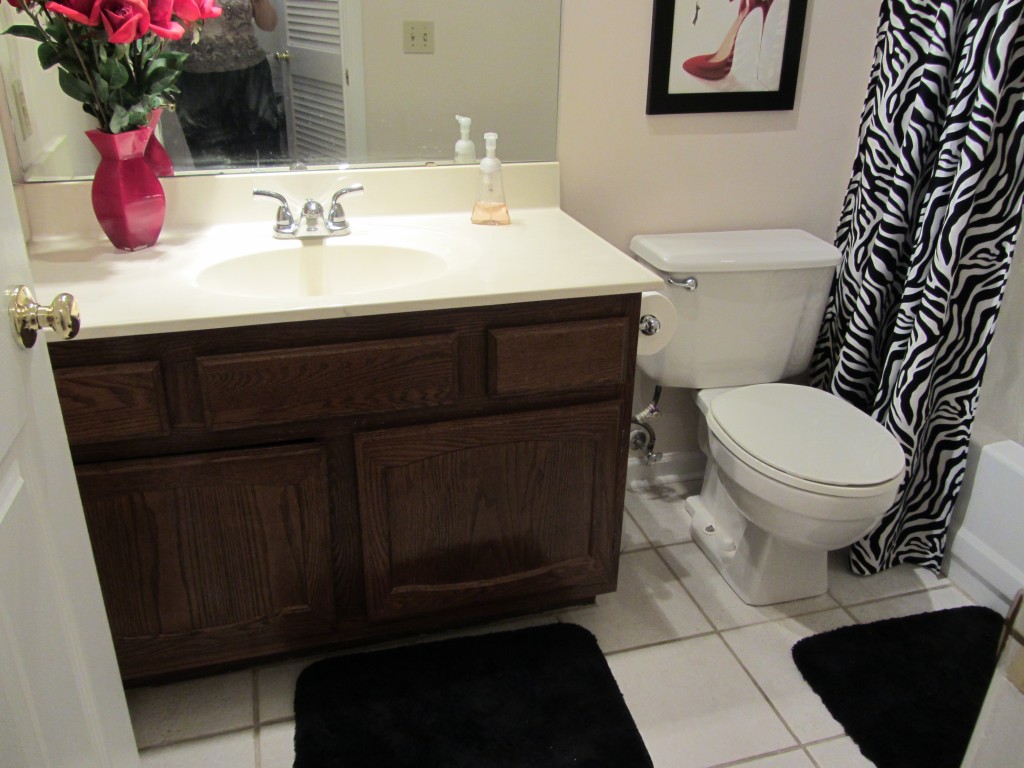
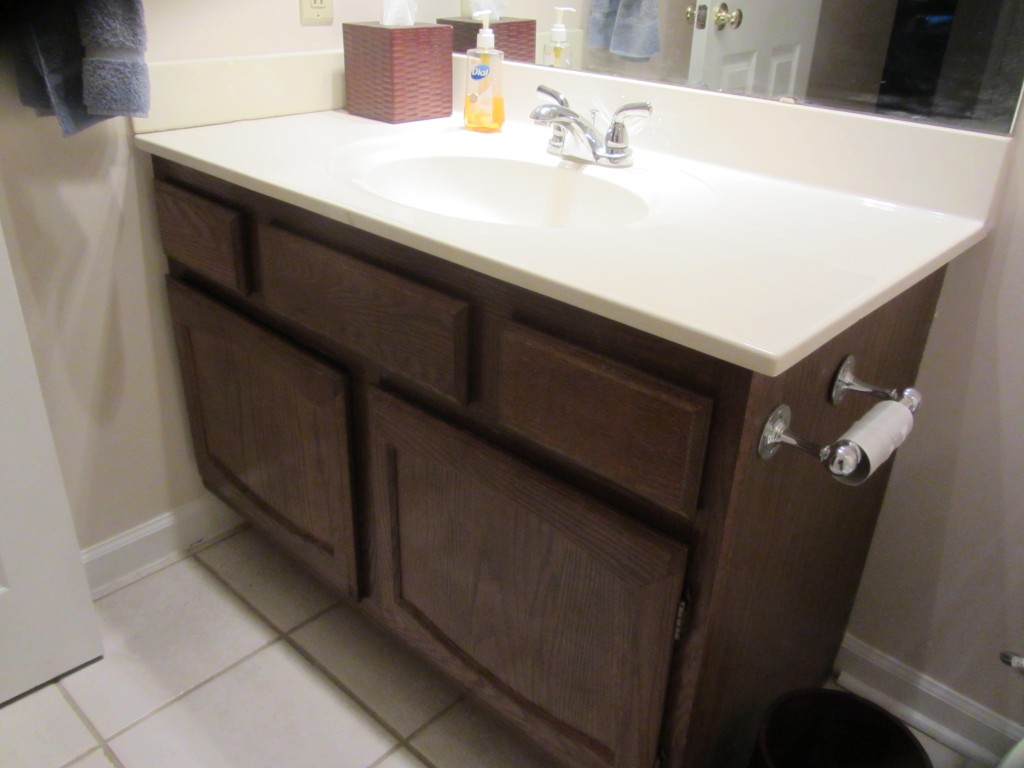
Bathroom with old oak vanity before renovation
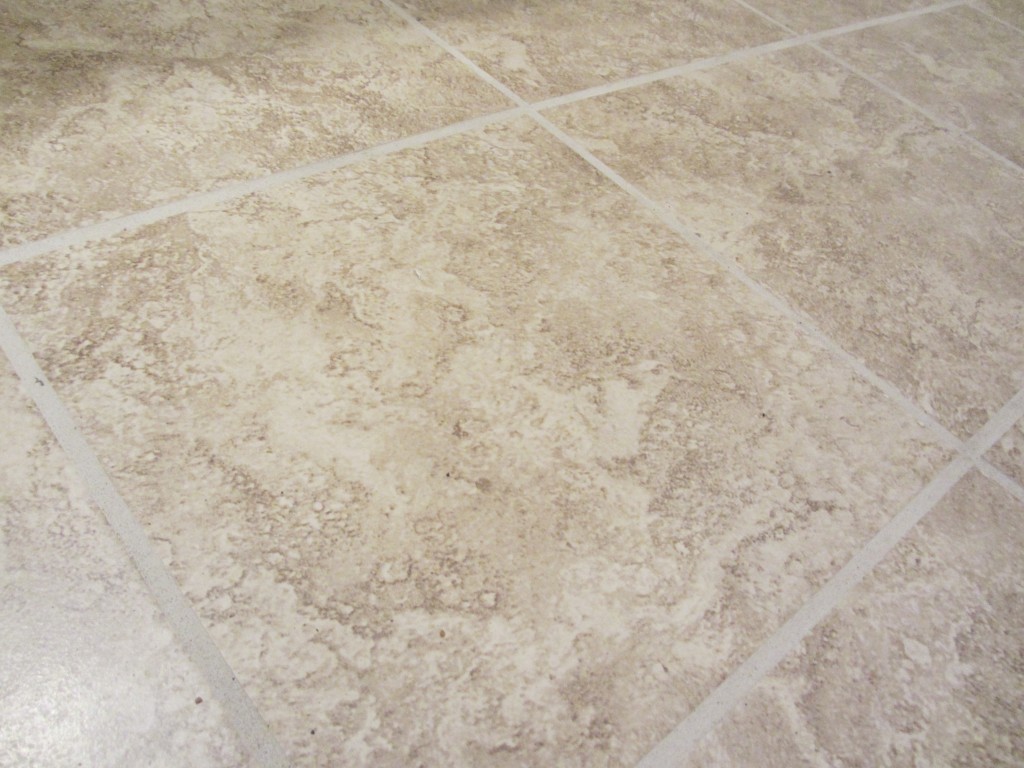
I’ve seen bathrooms that are much worse, but this one had a dirty and worn feel to it. The tile floor had dirt in the crevices and the once-light grout was dark with dirt. While it could have been cleaned up, the prospect of keeping off-white tiles clean wasn’t making me happy.
I’m not a fan of oak, especially 30 year old oak. The vanity was also bigger than needed, making the bathroom feel small. The old vanity was 42 inches and I replaced it with one that is 36 inches. The new vanity has more than enough storage space since it serves as the main floor bedroom’s primary bathroom, but also gives me more space between the vanity and toilet for the trash can and anything else I might want to stick there.
And it just makes the bathroom feel more spacious.
A few other things I didn’t like in this bathroom include:
- big frameless mirror
- mirrored medicine cabinet that stuck out about 2 inches from the wall and wasn’t needed for storage
- pale pink walls
- chrome faucet & accessory set
- really old shower diverter/knob
- no stopper for the tub, making baths impossible
- old-looking toilet seat
- cultured marble vanity backsplash had separated from the vanity and wall
The light fixture wasn’t actually bad, but it didn’t match my new oil rubbed bronze style, so it got changed.
Bathroom Remodel Completed:
This bathroom renovation kept cost down by not replacing things that didn’t need replacing – the tub, cultured marble shower walls, toilet and recessed light.
Everything else got replaced.
The first thing that happened was the bathroom got a new floor.
The ceramic tile looks amazing. While it was more expensive than if I had picked up the $1 per square foot stuff from Home Depot or Lowe’s, this ceramic tile is much thicker and will hold up better over time. With a small bathroom like this, spending a little more for better tile is worth it and doesn’t break the bank.
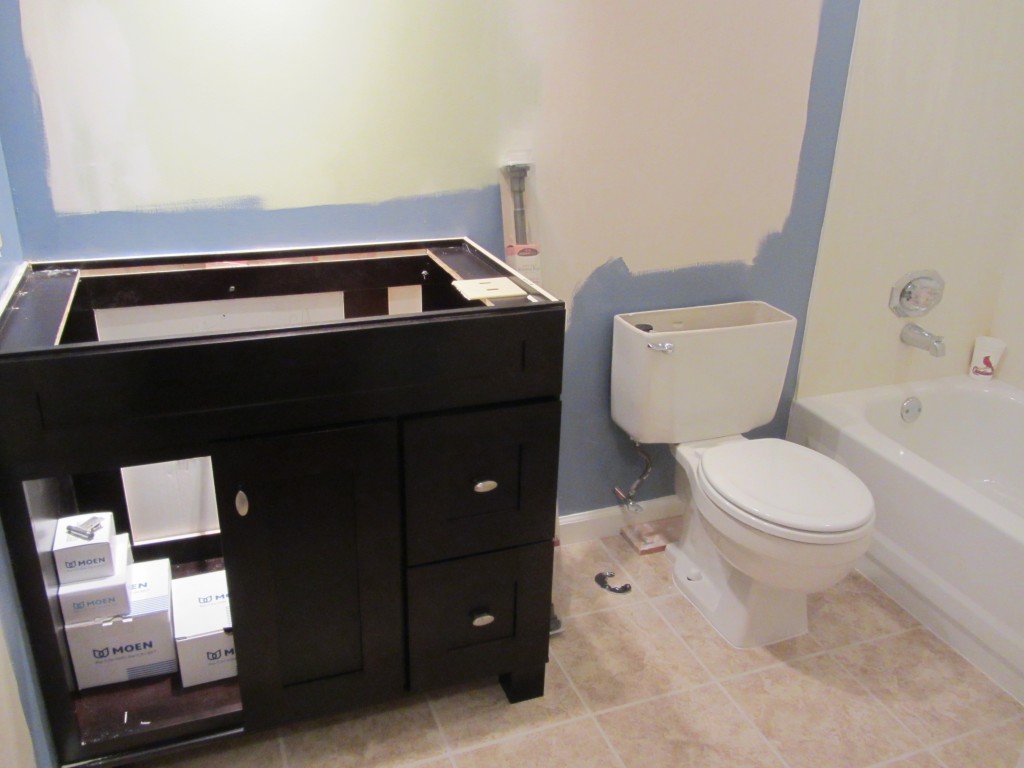
Renovation in progress
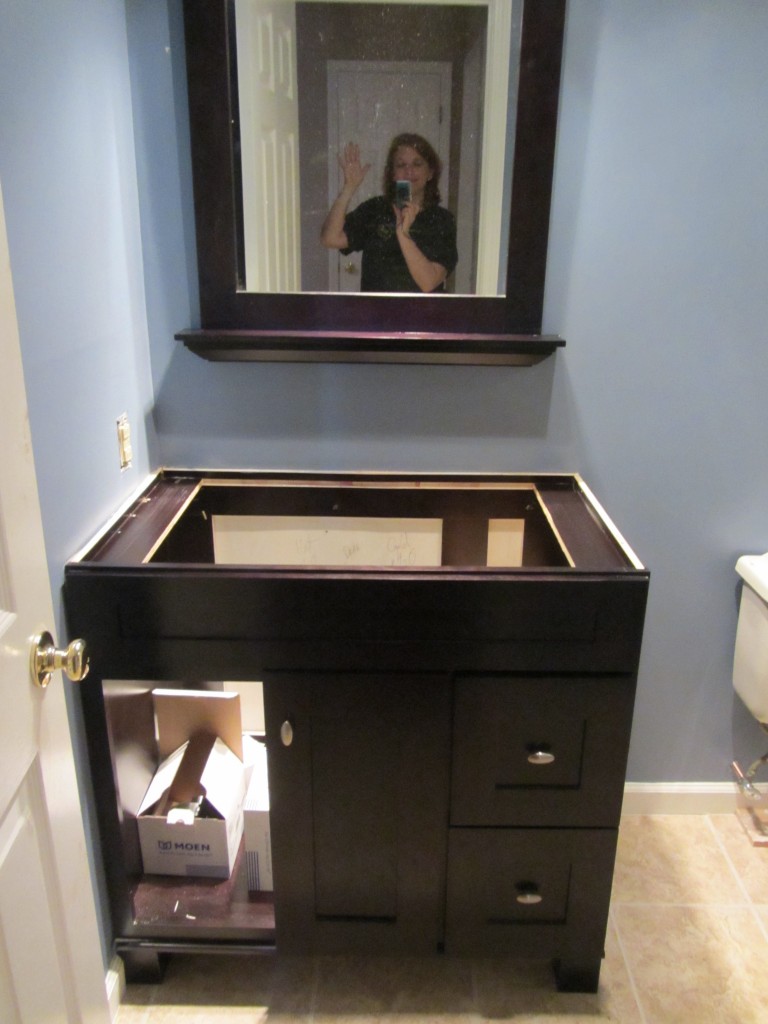
Then the new vanity was set in place and the paint went up on the walls.
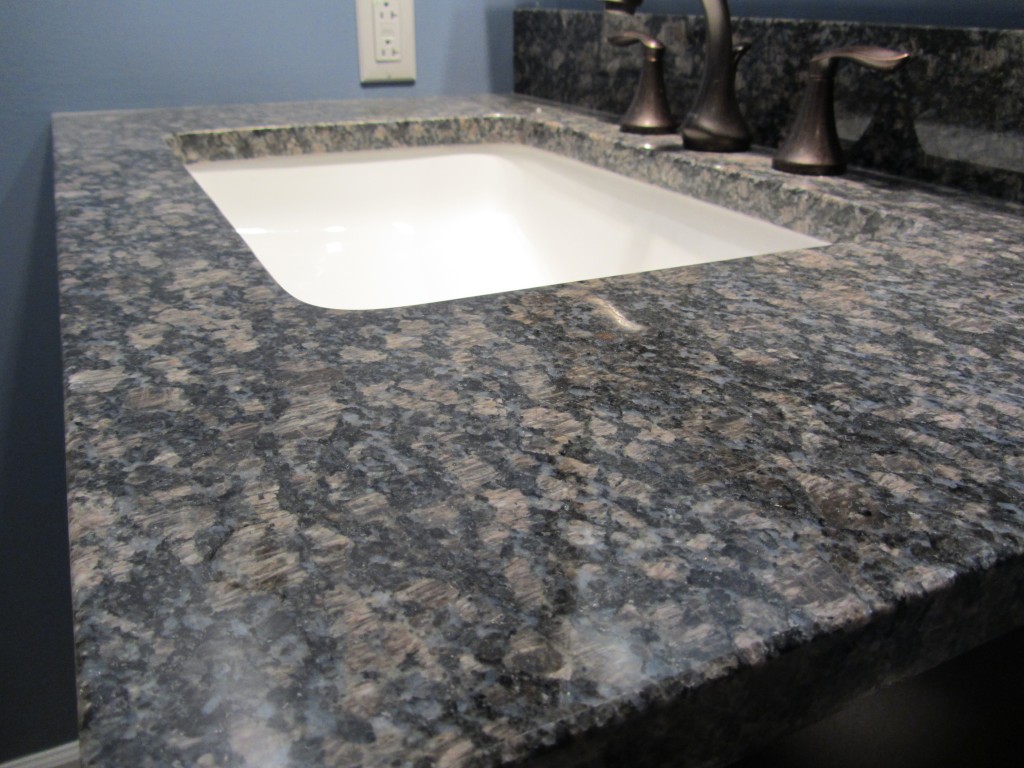
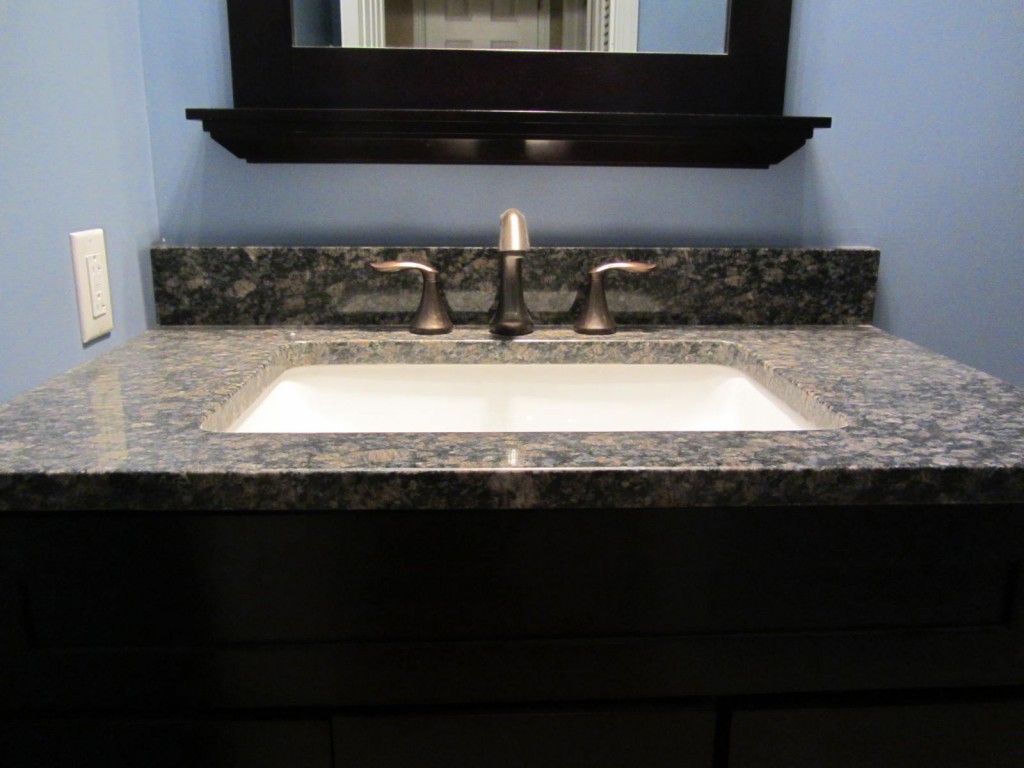
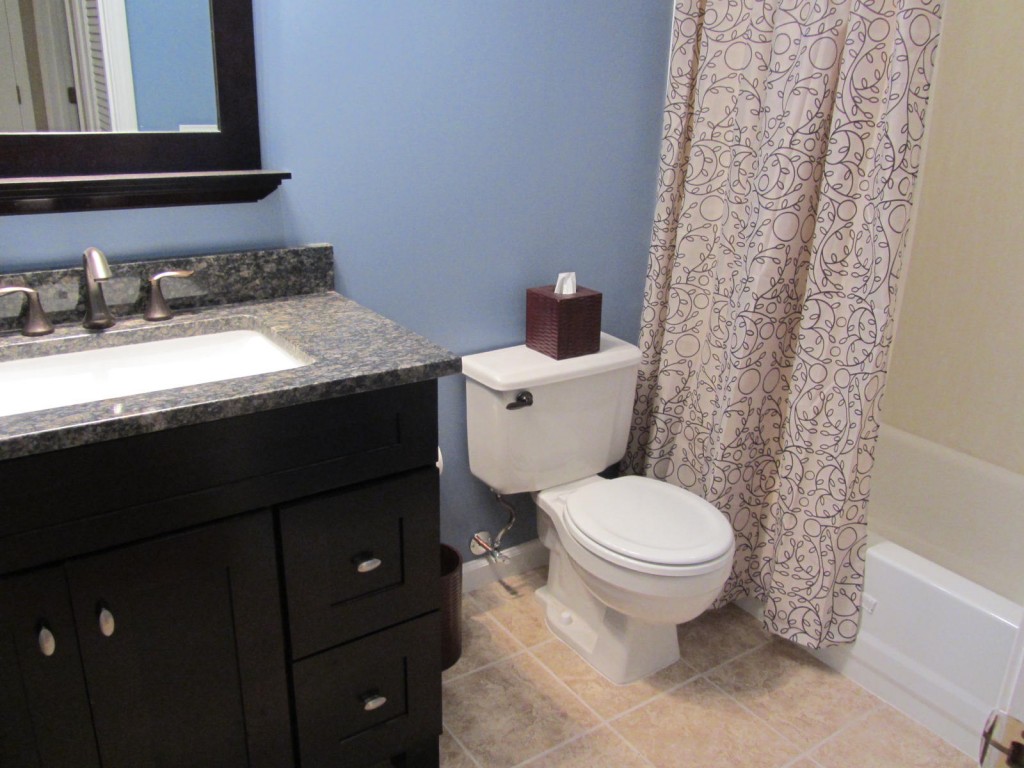
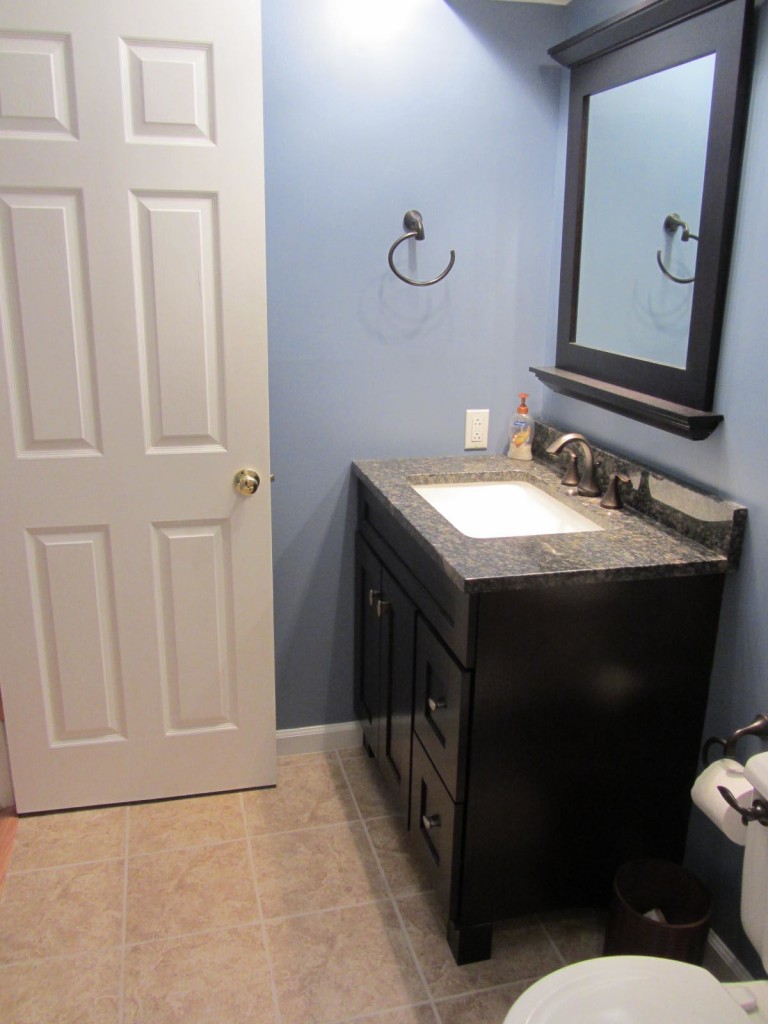
The vanity was a stock item from Lowe’s. I thought about purchasing a stock vanity top with sink too, and it certainly would have been cheaper than going to a granite fabricator and picking my own color. However, I decided this was the one spot I would splurge…so I spent a little over $600 more to get my granite top and a large rectangular sink. For me, these 2 pieces take the bathroom from generic to stylish…and are worth every penny.
It’s amazing how much paint can also transform a room. Going from pale pink to blue gives this bathroom a designer look.
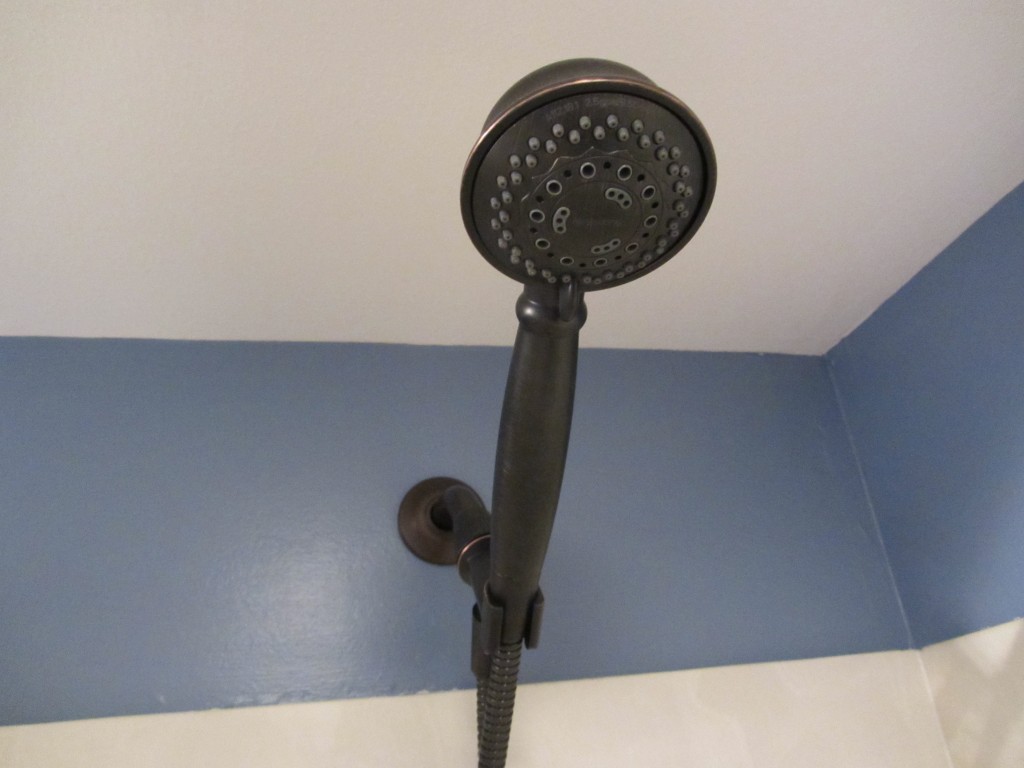
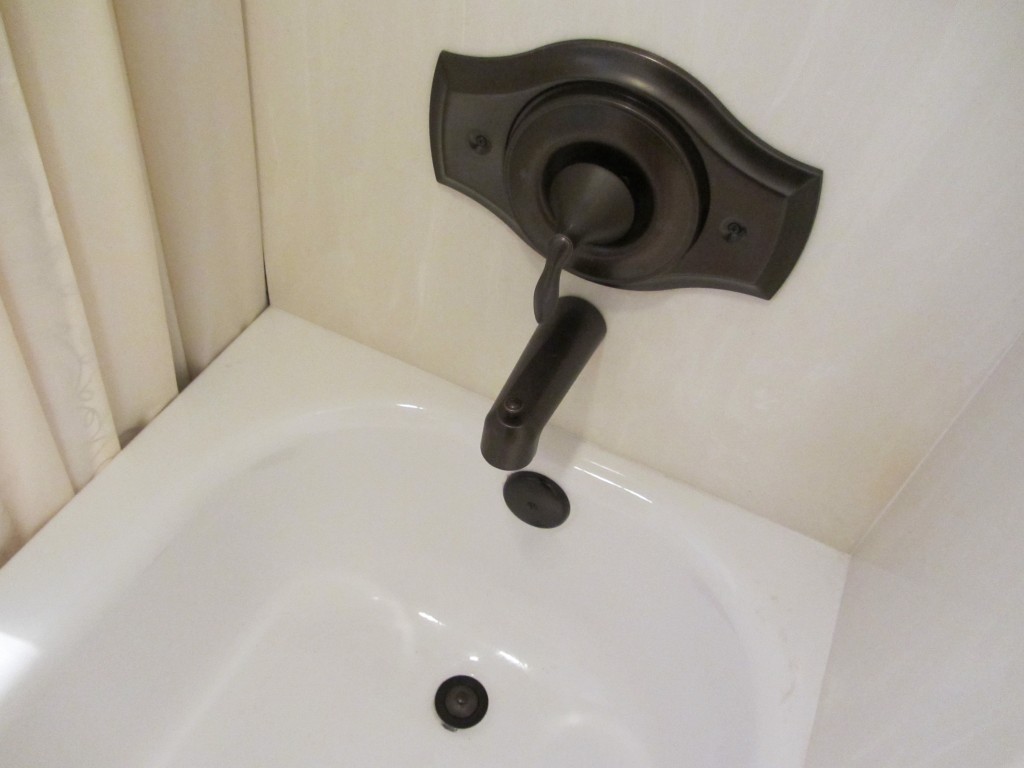
All of the hardware and accessories was changed from chrome to oil rubbed bronze: vanity faucet, shower trim kit, shower head, towel rods, toilet paper holder, shower curtain rod and even the toilet handle. Even the new light fixture is in the oil rubbed bronze finish.
 The shower diverter cover plate is extra large because the old shower valve wouldn’t work with the Moen diverter and had to be replaced. The remodel plate was needed to cover up the hole cut into the cultured marble to get everything changed over. Yeah, it’s big. But it looks much better than sticking with the old shower trim kit and it was much cheaper than replacing the cultured marble.
I bought a new shower curtain and decided to stick with the dark brown trash can and tissue holder from my prior house. All that is left is for me to pick up some chocolate color towels and the bathroom will be totally finished.
How Much Did it Cost?
FYI…I did not receive any compensation for sharing these product choices with you and will not get paid anything if you decide to purchase them. I’m sharing what I bought because I really like the way this bathroom turned out!
- Tile flooring (Tile Shop $130)
- Portfolio Light Fixture (Lowes $69)
- Allen + Roth 36″ Espresso Palencia Vanity (Lowe’s $379)
- Allen + Roth 30″ Espresso Palencia MIrror (Lowe’s $129)
- Granite Remnant Vanity Top (Granite Busters $465)
- Rectangular Bathroom Sink
(Amazon $168)
- Moen Faucet
(Amazon $129)
- Moen Tub and Shower Trim Kit
(Amazon $91)
- Moen Remodeling Cover Plate
(Amazon $59)
- AquaSource Handheld Showerhead (Lowe’s $69)
- Moen Shower Valve
(Amazon $58)
- Shower Curtain Rod
(Amazon $26)
- Shower Curtain
(Amazon $22)
- Moen Toilet Tank Handle
(Amazon $21)
- Moen 18-Inch Towel Bar
(Amazon $32)
- Moen Towel Ring
(Amazon $21)
- Moen Toilet Paper Holder
(Amazon $27)
- Kohler Toilet Seat (Home Depot $27)
- Behr Satin Enamel Paint (Home Depot $34)
I love shopping at Lowe’s. Home Depot is great too, but I find Lowe’s has a better selection of the products that make your rooms look great. The prices are good and staff is helpful, and you get to see in person what you will be buying.
I also buy a lot of items from Amazon. I’m a Prime account holder, so I don’t pay for any shipping and most everything arrives in 2-3 days. I’ve had a great experience ordering from Amazon, but since returns involve shipping stuff back, I do check at local stores if I’m concerned about what something might look like in person when possible.
Even with labor and a few other odds and ends in supplies, the bathroom remodel didn’t break the budget.
Could I have done it cheaper?
Sure.
But I also could have spent a lot more by going with a custom vanity, more expensive flooring or updating the tub and shower walls.



Karen,
Great post! We have a bathroom configured exactly the same way in our 1980 house, and there’s no way to really change that – but it is dated and needs to be spiffed up.
Question – did you lay the tile yourself? Since you don’t have a cost listed for labor, I’m assuming that’s what you did? If so, how hard was it to get the old tile up?
Actually, I was going to list the cost for the labor but need to find the receipt 🙂
No, I didn’t do it myself. I don’t think it was all that hard for the tile to be ripped up, but then again, the contractor did it and he’s used to doing this kind of stuff. If you haven’t ever laid tile floors, it really is worth the money to hire that out, even if you do other parts yourself. Getting even grout lines and level tiles is the difference between a pro looking job and a DIYer look.
Since you didn’t list labor cost (but you did make mention of them) I’m guessing you did most of the work yourself. Did you? It came out looking great! I agree that the countertop and rectangular undermount sink really make the look.
I hired a contractor to do the work but never sat down and broke out that cost as he was doing multiple projects for me.
Karen,
Thank you so much for this. Your bathroom is identical to mine, size and all! This is definitely going to hel me when I get ready to finish mine.
Thanks for all the before and after pics too.
I love seeing great success on a small budget, nice work!